Your home is where you should feel at ease, a space that offers peace after a long, tiring day, isn’t it? But when mold sneaks in, that sense of comfort can quickly turn into anxiety!
Nobody wants their safe and precious haven to turn into a source of worry! Mold not only makes your space look bad but can also mess with your health, sneaking into those damp spots and dark corners we often overlook.
So, keeping these creepy intruders out of your home becomes absolutely essential. And guess what? You don’t need to be an expert to tackle this unwanted issue.
In this blog, we’ll look into how to spot, remove, and prevent mold from taking over, so that you can create a healthier environment for you and your loved ones. From identifying to choosing the best ways to remove mold, this blog got all.
Let’s get started on creating a mold-free, healthier, happier home!
Understanding Mold: What You Need to Know?

Before we jump into how to get rid of mold effectively, it’s important to first grasp some essential fundamentals—how to identify it, its common types, and why it’s so persistent. Understanding the basics of mold can help you identify and address it before it turns into a health hazard, messing with your family’s health.
Signs You Have Mold in Your Home
To identify mold in your living space, you need to keep a keen eye on a few factors, which are:
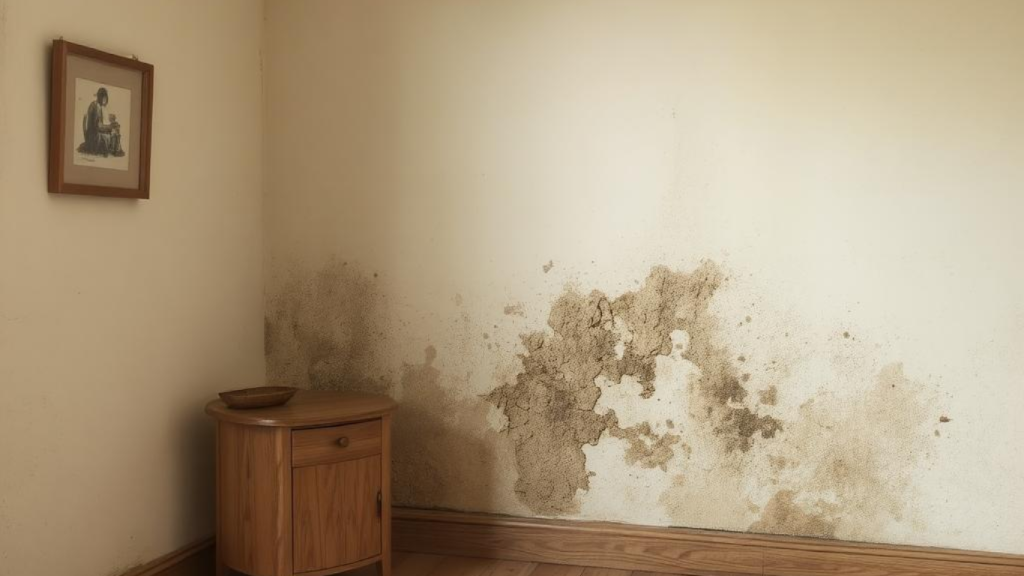
- Carefully analyze for dark spots or discoloration on walls, ceilings, or around windows and doors.
- Mold often has a fuzzy or slimy texture, often with irregular growth patterns, depending on the type.
- If you notice a musty smell, it’s a sign that mold may be present, even if it’s not visible.
- Bubbling, cracking, or peeling paint/wallpaper can be a sign of moisture, which often leads to mold growth behind the surface.
- In bathrooms or kitchens, it may appear as dark stains between tiles, especially in humid areas.
Common Types of Mold
Mold can take many forms, but here’s a quick table to help you understand the common ones found in households.
|
S.No. |
Mold Type |
Common Locations |
Appearance |
Health Risks |
|
Aspergillus |
Dust, damp walls, food |
White, yellow, green, or black |
Allergic reactions, respiratory issues, infections in those with weak immune systems | |
|
Cladosporium |
Wood, textiles, HVAC systems, windows |
Dark green, brown, or black |
Asthma symptoms, skin rashes, eye infections | |
|
Penicillium |
Water-damaged areas, carpets, insulation |
Blue or green, powdery texture |
Allergies, asthma, lung inflammation | |
|
Stachybotrys (also referred to as black mold) |
Continuously damp areas (bathrooms, basements) |
Dark black or green, slimy |
Severe respiratory issues, headaches, fatigue due to mycotoxins | |
|
Alternaria |
Bathrooms, under sinks, showers |
Dark green or brown, velvety |
Allergic reactions, asthma symptoms, nasal congestion | |
|
Chaetomium |
Water-damaged drywall, baseboards, carpets |
Starting off white and gradually darkening |
Skin infections, respiratory issues, musty odor |
How Mold Sneaks In and Grows Into Your Home?
Mold spores are typically found everywhere, both indoors and outdoors. According to the Centers for Disease Control and Prevention, mold can easily make its way into your living space through open doors, windows, vents, and air conditioning systems. It may also cling to clothing, shoes, and pets, carrying spores indoors.
Once inside, they hunt for the perfect spot to settle down and thrive. Talking of the perfect spot, mold loves damp, humid conditions, which is why areas like bathrooms, kitchens, and basements are its favorite hangouts.
“You might not notice, but a warm shower or a spill on the kitchen counter creates a little paradise for mold to grow.”
Dangers of Hidden Mold
If left undetected for longer periods, hidden mold can prove to be dangerous. It can grow behind walls, under carpets, or in attics, leading to structural damage and health problems.
Step-by-Step Guide: The Most Effective Way to Remove Mold

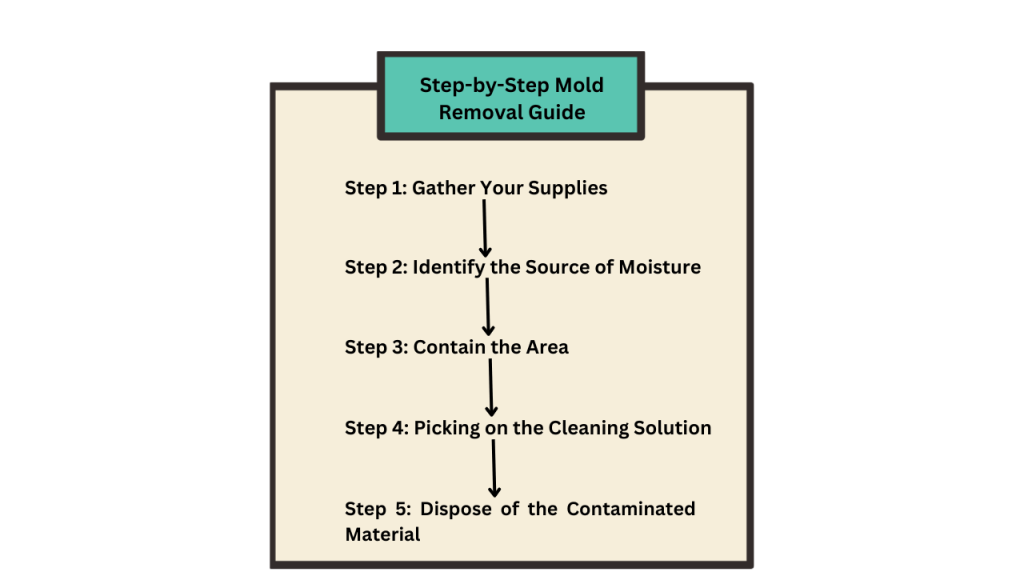
So, if you have spotted mold creeping up your walls or lurking in damp corners, don’t get stressed out. Here’s a well-structured and informative step-by-step guide to help you tackle mold issues:
Step 1: Gather Your Supplies
Before starting with the mold removal process, it’s essential to equip yourself with the right tools and materials. Here’s what you’ll need:
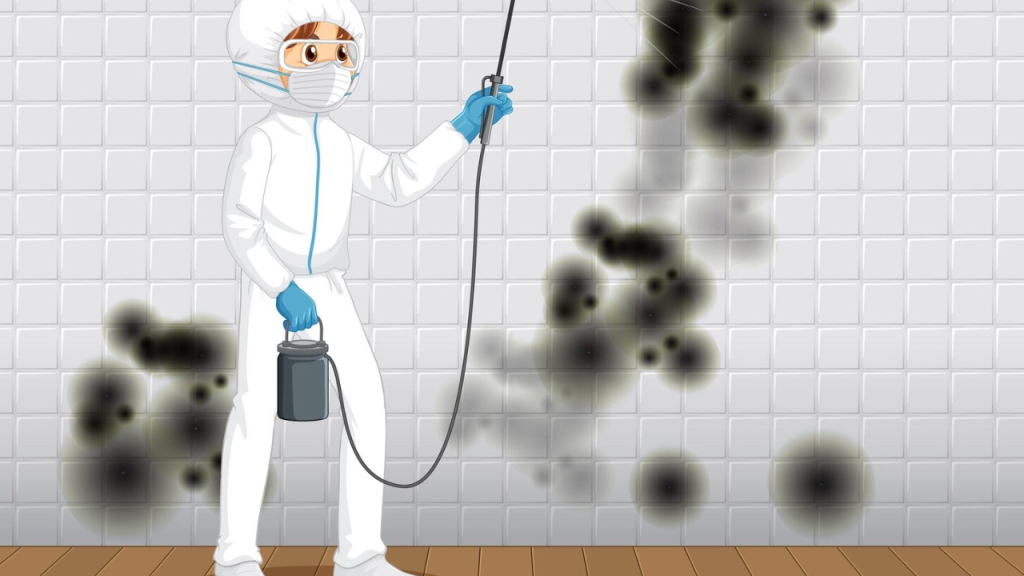
- Protective Gear: Wear gloves, goggles, and a mask to shield yourself from mold spores.
- Scrub Brush or Sponge: For scrubbing away the mold.
- Spray Bottles: For applying your cleaning solution.
- Bucket: For rinsing and disposing of moldy materials.
- Disposable Rags: For cleaning and wiping surfaces.
- Plastic Bags: To seal and dispose of contaminated items.
Step 2: Identify the Source of Moisture
Next, it’s crucial to pinpoint the source of moisture that has allowed it to flourish. Common areas include:
- Bathrooms: Due to high humidity.
- Kitchens: Around sinks and dishwashers.
- Basements: Often damp and poorly ventilated.
- Windowsills: Where condensation collects.
Pro Tip: Sometimes, mold hides out of sight. So, use a flashlight to inspect hidden areas, like behind furniture or under carpets.
Step 3: Contain the Area
To prevent mold spores from spreading, it’s essential to contain the affected area. Here’s how to do it:
- Close doors and windows that could carry spores.
- If the problem is extensive, consider sealing off the area using plastic sheets to prevent spores from spreading to other parts of the house.
- If possible, turn off the HVAC system in the affected area to avoid circulating mold spores.
Step 4: Cleaning the Mold: Natural vs. Chemical Solutions
Now is the time to tackle the mold! If you’re wondering how to clean it effectively, it’s important to use the right cleaning solutions and techniques. However, here you have the choice between natural and chemical cleaning solutions.
Your choice of solution will determine how well you can eradicate the mold and prevent it from returning. Firstly, let’s have a closer look at both natural and chemical options using a brief, summarized comparison table.
|
Feature |
Natural Solutions |
Chemical Solutions |
|
Examples |
White Vinegar, Baking Soda, Tea Tree Oil |
Bleach, Commercial Mold Removers |
|
Effectiveness |
Effective for mild to moderate mold infestation |
Highly effective for severe mold infestations |
|
Speed of Action |
Slower (requires longer application time) |
Faster (kills mold quickly upon contact) |
|
Surface Compatibility |
Usually safe |
Can damage surfaces like wood or painted ones |
|
Safety |
Generally safe, non-toxic |
Potentially harmful fumes; requires PPE (gloves, masks) |
|
Odor |
Mild or pleasant |
Strong chemical smell |
|
Cost |
Usually, lower cost |
Can be higher, depending upon the product |
|
Ease of Use |
Quite simple and straightforward |
Requires proper handling |
No, let’s have a detailed version of the above!
Natural Solutions
1. White Vinegar
According to MedicinNet, white vinegar, being a mild acid, can eliminate around 82% of mold varieties.
How to Use:
- Pour undiluted white vinegar into a spray bottle and spray directly onto the affected area.
- Allow the vinegar to sit for at least 1 hour to penetrate and eradicate the mold effectively.
- Wipe the area with a damp cloth to remove any residue, and then dry thoroughly.
2. Baking Soda
It’s one of those recommended cleaning agents that not only removes mold but also deodorizes the area. It’s inexpensive, easily available, and safe to use.
How to Use:
- Mix 1/2 cup of baking soda with water to create a paste or dissolve 1/4 cup in a spray bottle filled with water.
- If applying the paste, let it sit for 10-15 minutes, and for the spray, allow it to sit for about 30 minutes before scrubbing.
- Then, scrub the area with a brush or sponge, rinse with water, and dry thoroughly.
3. Tea Tree Oil
Commonly used for small infestations, tea tree oil contains natural compounds alpha-terpineol and terpene-4-ol, which effectively kill mold spores by destroying their cell walls. This process causes the cells to rupture and leak, ultimately leading to its death.
How to Use:
- Mix one teaspoon of tea tree oil with one cup of water in a spray bottle and shake well to combine the solution.
- Spray the solution directly on the mold, and let it sit for 30 minutes.
- Do not rinse the area after applying the tea tree oil solution; the residual oil will continue to work against regrowth.
Chemical Solutions
-
1. Bleach
How to Use:
- Mix 1 cup of bleach with 1 gallon of water in a bucket or spray bottle.
- Apply the solution directly to the moldy surface using a sponge or spray bottle.
- Allow the solution to sit for at least 10-15 minutes to ensure it penetrates the mold and kills it.
- Rinse the area with clean water to remove any bleach residue and prevent damage to the surface.
Pro Tip: Ensure proper ventilation while using bleach, as its fumes can be harmful.
2. Commercial Mold Removers
How to Use:
- Follow the manufacturer’s instructions for application, which typically involves spraying the product directly onto the mold-affected area.
- Most commercial products require a dwell time of 10-15 minutes.
- Wipe the surface with a cloth or sponge and rinse if recommended by the product instructions.
Whichever method you select, the primary focus should be on thoroughly eliminating these nasty invaders. Be sure to apply disinfectants like hydrogen peroxide, rubbing alcohol, or a commercial mold treatment to finish the job.
Step 5: Dispose of Contaminated Materials
In case you find items that are heavily infested with mold and are unfortunately hard to clean, it’s better to dispose of them. Try to remove them carefully, seal them in plastic bags, and throw them away. Doing so prevents spores from spreading during disposal.
When to Call a Professional?

While DIY methods can work wonders for smaller spots, there are situations when calling a professional can be your best move. If you are dealing with large infestation or severe black mold, seek professional help, as it can lead to serious health problems, especially for the ones with compromised immune systems.
If you need reliable help, you can count on Above & Beyond, a trustworthy company specializing in mold removal in NJ. Our professionals are equipped with expert resources and modern techniques to handle even the toughest of mold infestations.
We don’t just address the visible mold but also locate the source of moisture and eradicate the problem at its root.
Preventing Mold From Returning
Nobody wants to witness a comeback of these unwanted guests even after giving off so much effort. The key to keep your space free from mold lies in tackling the underlying issue that allows it to thrive in the first place.
- Try to keep your home dry! In high-humidity areas, like the basement or bathroom, you can use dehumidifiers to maintain moisture levels. Also, make sure the relative humidity in your home stays under 60%, ideally within the 30%-50% range.
- Good airflow can help reduce the chances of mold growth, so ensure your home is well-ventilated.
- Clean your space regularly, specifically in areas that are prone to moisture!
The Bottom Line
And there you have it – a complete guide on how to tackle mold removal effectively. Though it might seem like a daunting task, but with the right approach, it’s entirely manageable.
By following this step-by-step guide, you can tackle mold at its source, ensuring a cleaner, healthier living space. Remember, the key is not just removing the visible mold but accurately addressing the underlying moisture issues to prevent it from coming back.
So, stay vigilant, keep on the regular maintenance, and look for proactive measures to keep your lovely home dry and well-ventilated. This way, mold won’t even stand a chance!